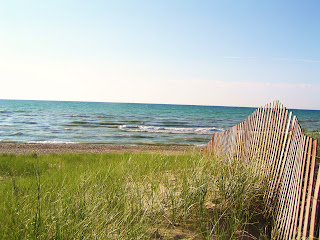
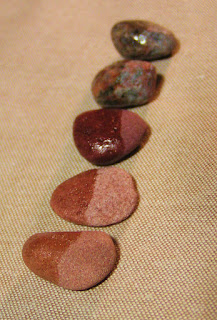
My favorite part was collecting smooth, brightly colored beach pebbles, just like I used to do when I was a little girl.
However, unlike when I was a little girl, now I can make something with them instead of just admiring them. I have always been captivated by simple beauty, much like I see in these small stones. A stone is a simple thing, and very common. But it can be, and often is, beautiful.
Here are the things you will need for this necklace:
Needle nosed pliers and round nosed pliers
Wire (I used 20 gauge)
Chain
Pretty beach stones, ranging in size from about the size of a bean to the size of a quarter.
Clear nail polish
Now that your stones are magical again, you may proceed. Take about 6-8 inches of wire (That's about 15-20ish cm for you metric folks) and bend it in half around one of your stones. Remember that it is better to have too much wire at the end than not enough, so I am very generous with my wire. It actually helps if your stones aren't completely smooth and still have some small edges here and there.
Next, start wrapping. You want your wire to spiral around the stone. You're starting in the middle, so you're going to go from the inside out, first one half, then the other. You may need to practice a few times before you get one worth putting on your necklace. My first two or three stones didn't turn out very nice, so I put them aside to take apart and re-wrap later. This is harder if you use hard wire like I do.
Although it makes my job harder, I think it's worth it to use hard wire because it makes my jewelry very sturdy. I'm a cowgirl, a rough and tumble kind of girl. That means my jewelry has to be as tough as I am. I can't wear anything fragile, and if I wouldn't wear it, then I wouldn't sell it to you from DragonInDixie, or anywhere else.
When you finish wrapping your stone, you should have enough wire left at the end to make a loop with the round nosed pliers.
I used eight of these wire wrapped stones for my necklace, but you can make as many or as few as you like. If you use slightly bigger stones, you may try only three for a different look. It's up to you.
The next thing you will need to make is what I call figure eight links. these will help you connect all your wire wrapped stones together. Here is one completed figure eight link and the approximate length of wire you will need.
You should have a little tail left at the end of the loop. Use that tail to wrap another loop in the opposite direction.
Use the figure eight links to connect the wire wrapped stones.
I arranged my stones in order from smallest to largest, but you can play around with it however you'd like. Maybe try doing a pattern of big, small, big, small.
Then attach the chain to either side of your wire wrapped stones to form your completed necklace. Depending on how big or small the links in your chain are, you may need to use a couple jump rings.
I decided not to add a clasp to my necklace, simply because it is already big enough to fit over anyone's head. That and if the necklace slides a little off center, the clasp will probably show. Here is the finished product:


Haley,
ReplyDeleteVery original and lovely!
Rhonda
Beautiful work, Haley! I think I recognize those beach stones! I am going to use clear nail polish on our stones too when I get a chance. They are on display in the boys room right now. :)
ReplyDeleteMany blessings...
Thanks :) And I think your family will enjoy the effect of the clear nail polish; it works wonders!
Delete